Your squad is dropping in hot and streaming all of the action to Twitch. You’re streaming directly from your Xbox or PlayStation and you’ve got Lightstream running to add on all of your branded overlays and alerts. There’s a problem though. Your viewers can only hear you. They’re missing out on the shot calls, jokes, and camaraderie your friends are bringing to the experience.

Adding your team’s voice chat to your Xbox or PlayStation streams isn’t always straightforward. There are a few different ways to make it happen depending on what game you’re playing and who you’re playing with. We’ll start with the easiest method and work our way to more complex options that are useful in specific cases.

Are you new to Twitch and wish to learn more about the streaming platform? We got you covered. Refer to this guide to learn everything you need to know about how to go live on Twitch, how to set up your account, score the best gear, and optimize your streams to increase your viewers.

If you already know what type of voice chat you want to use, you can jump directly to it:

  1. In-Game Voice Chat
  2. Party Chat
  3. Discord & PC-based chat
  4. Virtual Microphones

In-Game Voice Chat

This is the easiest way to add your team’s chat to your stream. It doesn’t matter if you’re streaming from an Xbox or PlayStation. Just use your game’s chat option and make sure the audio settings in the game are configured correctly. 

So what’s the problem? Most games do not allow the in-game voice chat to be broadcast. You’ll need to do some google searching or a quick test stream to see if the game you want to live stream is compatible with this method.

DayZ on Xbox can live stream in-game chat
DayZ is one of the few games we tested that supports broadcasting in-game voice chat.

Party Chat

It’s likely the game you want to stream doesn’t offer broadcast friendly in-game voice chat, so the next best option is using your console’s party chat. This option should work for any game you can stream, you’ll just need to coordinate with friends. It won’t work for random people you queue up with (honestly, that’s probably for the best). Setting this up is surprisingly similar between the Xbox and PlayStation consoles.

Xbox

1. Invite your friends to a party.
Anyone in your group can do this. Press the Xbox button to open the guide and select “Parties & chats” then “Start a party”. Select invite more, choose you want to invite, then select “Invite selected people”.

2. All players opt-into adding audio to the stream.
Everyone in the party who is not streaming needs to give permission for their audio to be used for the broadcast. Press the Xbox button to open the guide. At the top of the Party chat options check the box labeled “Include my audio”. 

PlayStation

1. Invite your friends to a party.
Anyone in your group can do this. Select “Party” from the PS menu then “Start a party”. Select “Add Players” and select who you want to invite.

2. All players opt-into adding audio to the stream.
Everyone in the party needs to give permission for their audio to be used for the broadcast. Go to the Party menu, select “Party Settings”, and set “Allow Your Voice to Be Shared” to “Always Allow”.

3. Streamer turns on party chat in the broadcast settings.
This one’s a little different between the PS4 and PS5.

On PS4: Press the share button on your controller and select Broadcast Gameplay. Select Twitch as your destination and set your stream information and settings. Press the Options button to access “Advanced Settings”, select “Audio Sharing Settings”, and make sure “Share Party Audio” is checked on. Don’t forget to include your own microphone audio!

On PS5: Press the create button on your controller, and select “Broadcast”. To the right of the Go Live button is a (…) button to open more options. Select that and then Broadcast Options. Check on the switch to “Include Voice Chat Audio”.

Discord & PC-based chat

Lightstream Studio PC Screenshare Layer

Update: You can now add a PC Screenshare layer to the Gamer project. This will allow you to add Discord voice chat to your console stream.

Use the browser version of Discord, then simply add a Browser Tab Screenshare layer to the project’s scene. Make sure to check the include audio (Edge or Chrome browser only) option. You can then hide or delete the visual layer. The audio will remain in the Audio Mixer. Be sure to add your own microphone via an Audio Source layer so your audience hears you too.

Note:  Discord console integrations aren’t compatible with our software, so you’ll want to reference one of our videos below to find your best workaround.


Lightstream Studio PC Screenshare Layer

Virtual Microphones

Add Blackhole audio source to Lightstream Studio
This essentially allows your computer to capture what it’s hearing as an audio input device, which you can then add to your project as an Audio Source layer. With it you’ll be able to add things like Discord audio or any other PC-based voice chat option you may prefer.

So while some of the previously mentioned options, like party chat can be ideal for most situations. You may be broadcasting a game that allows cross-play with a friend on another system. Or, you just want to chat with friends while broadcasting. In those cases, you may be interested sharing your Discord audio or another PC-based chat program.

Cloud-based broadcast software like Lightstream is required to bring PC audio into your console stream without a capture card. You’ll also need to install a virtual audio driver on your machine. 

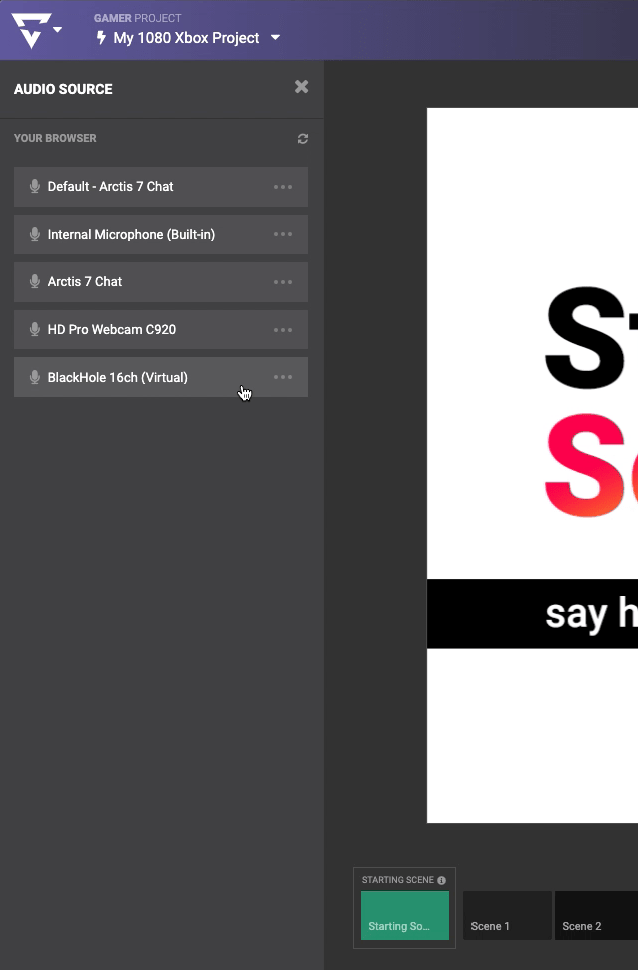
We recommend Virtual Audio Cables (VAC) for PC and Blackhole for Mac. While our team can’t provide technical support on getting these setup, you can find a basic how-to guide for VAC on our blog.

This is still a viable option for computer audio of course, but that being said it is a bit more complicated to get setup and not something we fully support. Rather than just say using our built in Screenshare layer mentioned at the beginning of the article.

Updated 10.25.21 to include Xbox & PlayStation video tutorials.