Sharing your music with the world is now easier than ever using Lightstream Studio. Thanks to some recent audio capture improvements, you can capture high-fidelity audio right in the browser–no downloads required!
Whether you’re a DJ, a singer, a guitarist, or you play the oboe, we’ve created this quick start guide for amateur and expert streamers alike.
Quick Audio Setup Guide
In Lightstream Studio, navigate to add a layer in the top left-hand corner. Select “Audio Source” and you’ll be prompted to select your device. Make sure you’ve given Lightstream permission to access your microphone!
Once you’ve selected the correct audio source, you’ll see it appear in your Audio Mixer in the bottom left-hand corner.
Make sure you check the “Optimize for Music” box.
This will ensure high-fidelity audio capture for the best sound quality. You can also adjust the volume, which is useful if you have multiple audio sources or microphones.
Which Audio Device do you select?
That depends.
Here’s a good-better-best breakdown on how to capture sound with Lightstream Studio and your computer.
Good Audio Setups for Live streaming
Mac Audio Setup
If you are DJing with software or capturing audio playing on your computer, Apple’s operating system does not make this easy on its own, but we’ve found a simple solution. You will need to install a virtual audio driver on your machine. This will capture all audio on your Mac into a single device which you then select in Lightstream Studio as your audio source.
Our favorite is Blackhole.
Windows Audio Setup
Some computers feature a “line in” port like a desktop PC. Take an RCA to headphone adapter to connect the mixer to the PC. Another option is to capture a screenshare of the application via Chrome and you can decide whether to visually show that on stream or not. The important part is capturing the screenshare with audio, which can only be accomplished in Chrome.
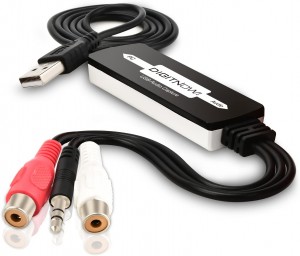
Better Audio Setups for Live streaming
We found a really simple device on Amazon that acts as a USB audio input but has options for a headphone port or RCA audio connectors. This works on Windows and Mac as a simple plug and play device. I was able to take the record out right off my professional Pioneer DJ Mixer and my travel setup, the Pioneer DDJ-WeGo4.
You can find it on Amazon here.
Best Live stream Setup for Audio
There are two great options if you want to invest a bit more and have some versatility.
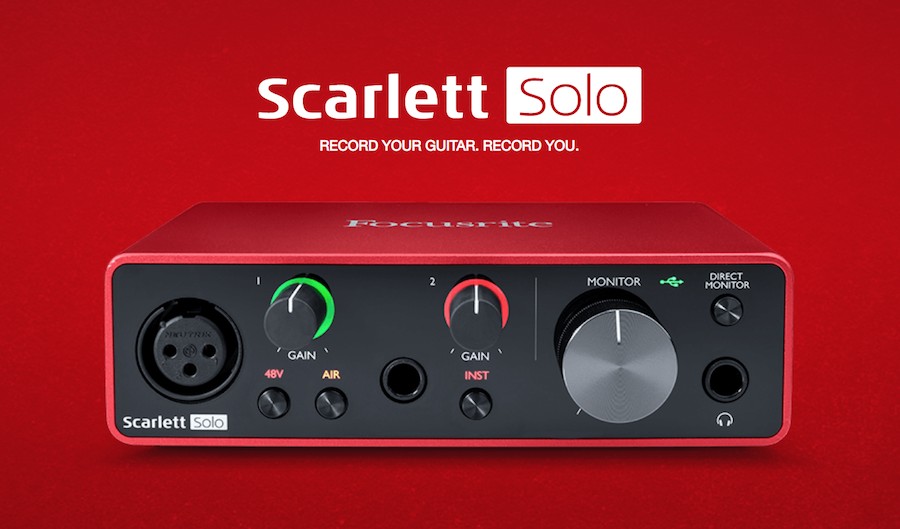
#1 FocusRite Scarlett Solo – starting at $99
This offers a few different inputs and variations, but ultimately gives you more control and professional inputs to capture audio. Then you just add the Scarlett device as your audio source in Lightstream Studio with audio processing disabled.
#2 Roland Go: Mixer
This little device does much of the same as above and gives you a few options to connect devices.

Quick Troubleshooting
- Check all your cables and make sure that everything is snugly plugged in.
- Check your levels! If your input is too high, this will cause lots of quality issues.
- Be sure to check your device, your operating system, and Lightstream Studio.
Check your sample rate on any devices and in your operating system. A mismatch could cause issues. It should be 44.1 kHz other sample rates will affect audio quality - Does the instrument require a battery that may be dead? (active pickups)
- Does the microphone you’re using require phantom power? (+48v is required for some dynamic microphones and basically all condenser mics)
- Check that your drivers are up to date.
More reading…
The hardest decision you might have to make is what platform you’d like to stream to. We wrote this blog post to help you choose where your stream belongs.