If you’re thinking of starting your live stream, you may be wondering if you should do test streaming on Twitch. Test streaming is testing audio and video settings on a live stream before going live. This is important to ensure that your broadcast sounds and looks good to your viewers.
Testing your live broadcast on Twitch is a great way to see if your stream is ready for a larger audience. It also allows you to get feedback from other Twitch users.
If you’re not sure how to get started, you can check out our guide on testing streams prior to Twitch streaming.
How to Do Test Streams on Twitch?
If you’re new to Twitch and are looking to do test streams to make sure your audio and video settings are configured correctly, here’s a quick guide on how to do it.
Before you start streaming, you’ll want to ensure that everything is working correctly. That includes your internet connection, webcam, microphone, and game setup. To test your stream, launch your game and start streaming.
Then, open up Twitch and go to your channel page. You should see a preview of your stream in the top right corner. If everything looks good, you’re ready to go live!
Twitch Test Stream via Lightstream on Consoles
Firstly, if you are a console streamer, you might want to learn how to connect your console to a streaming app or service.
Today, we will talk you through the process of starting a test stream by using Lightstream on consoles such as PS4 and Xbox.
Keep in mind that the process is similar, if not the same as starting the normal stream.
Starting Test Stream on PS4
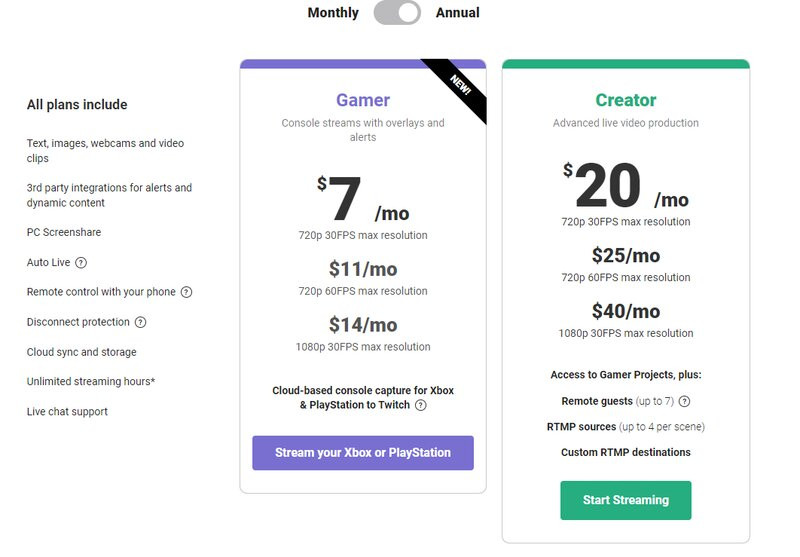
- Get Gamer plan from the Lightstream website and connect it to your account.
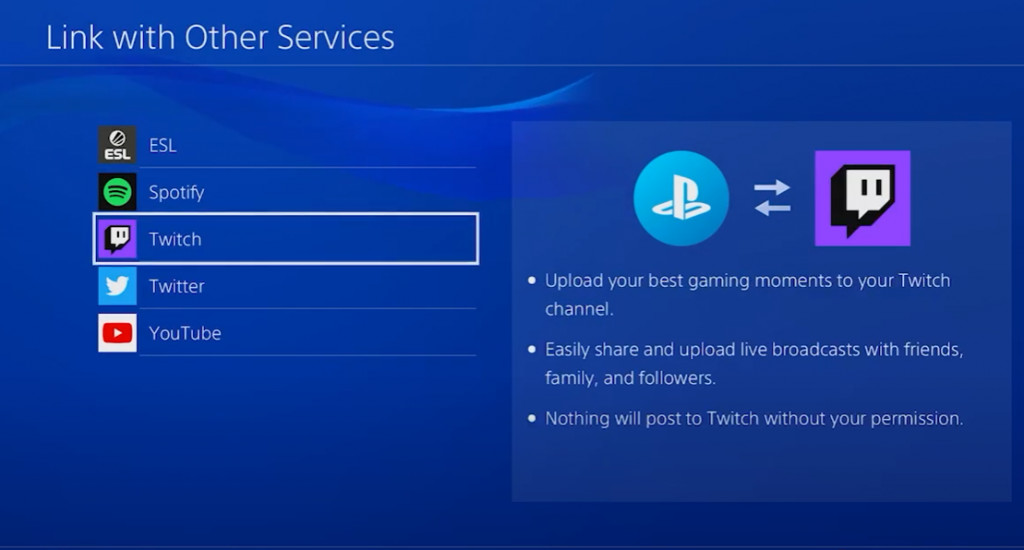
2. Go to your PS4 settings and link your PS4 account to Twitch account.
3. In Settings, go to Network > Set Up Internet Connection.
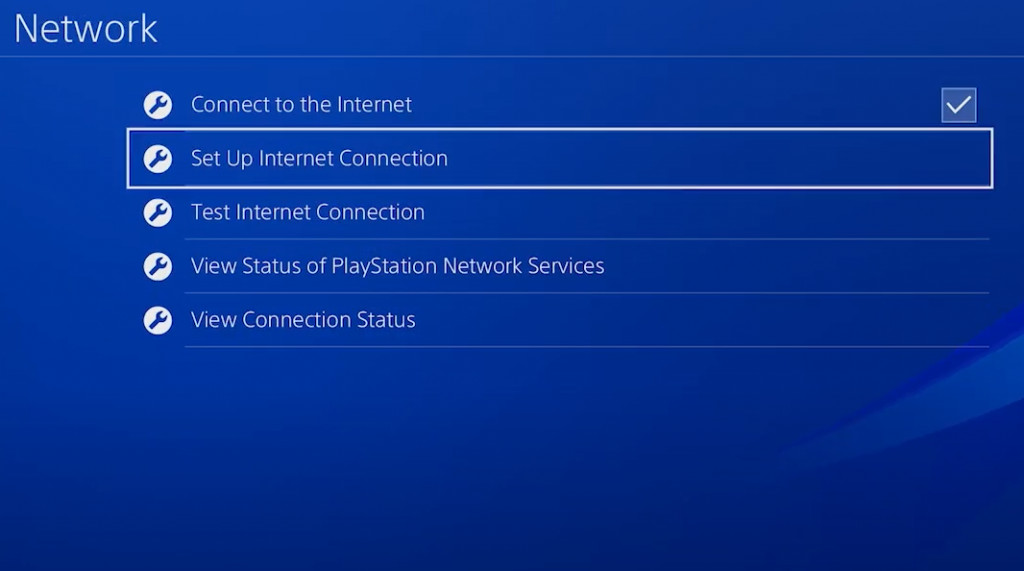
4. For the best streaming performance, a wired connection is better. Choose LAN Cable > Custom > Automatic > Do Not Specify.
5. Set up DNS settings > Manual > Enter Primary DNS for your region

6. Select Automatic MTU settings > Do Not Use Proxy Server
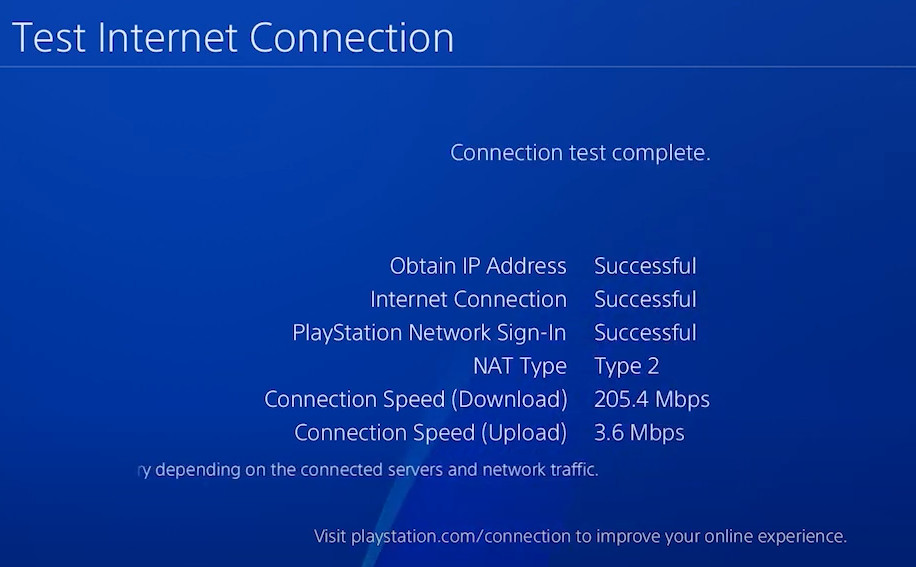
7. Test your internet connection
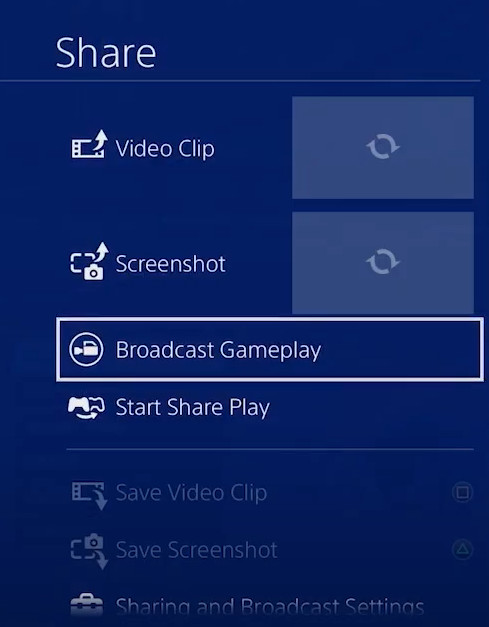
8. Go to desired game > Open Share > Click on Broadcast Gameplay
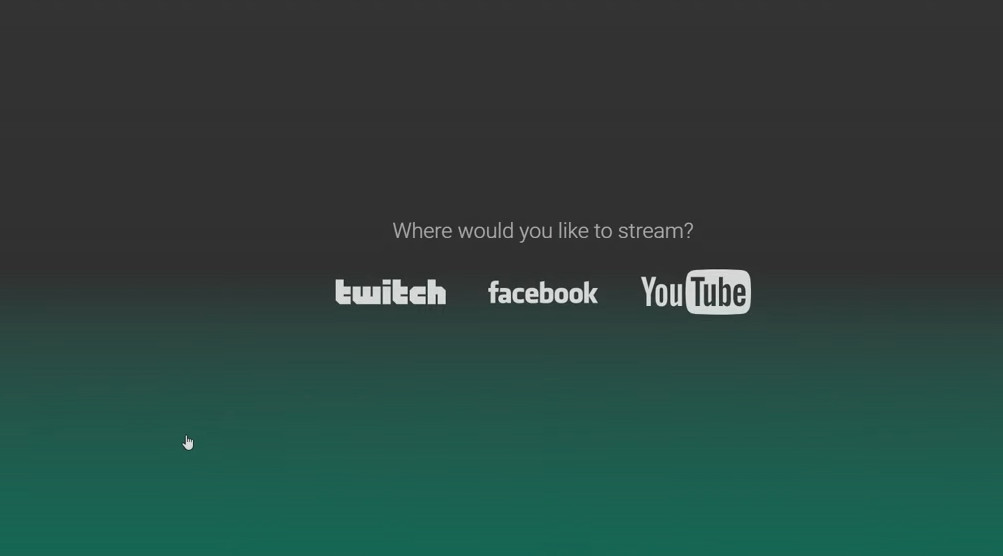
9. Choose Twitch > Edit your stream settings (title, video quality, mic, and audio settings)
10. Click on Start Broadcasting!
Starting Test Stream on Xbox
Same as with PS4, let’s go through all the steps you need to start streaming via Lightstream on Xbox:
- Login to Lightstream with your Twitch account. If you haven’t already, get a Gamer plan.
2. Go to Projects > Gamer Projects. It is the only way to stream on Xbox.
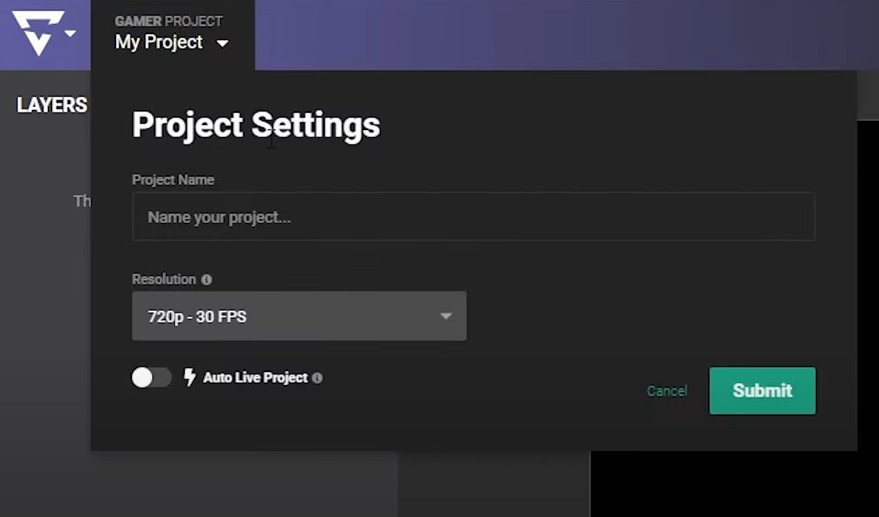
3. Edit Project Settings and enable Auto Live Project to help Lightstream recognize your Xbox.
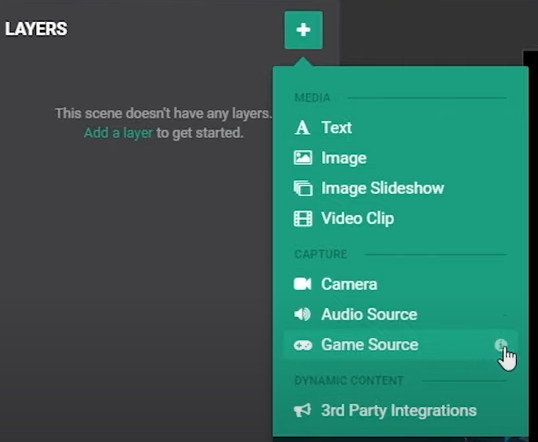
4. Add Game Source and edit stream layers (Twitch channel logo, alerts, overlay, etc.).
5. Go to the Xbox Twitch App once you have the scene ready.
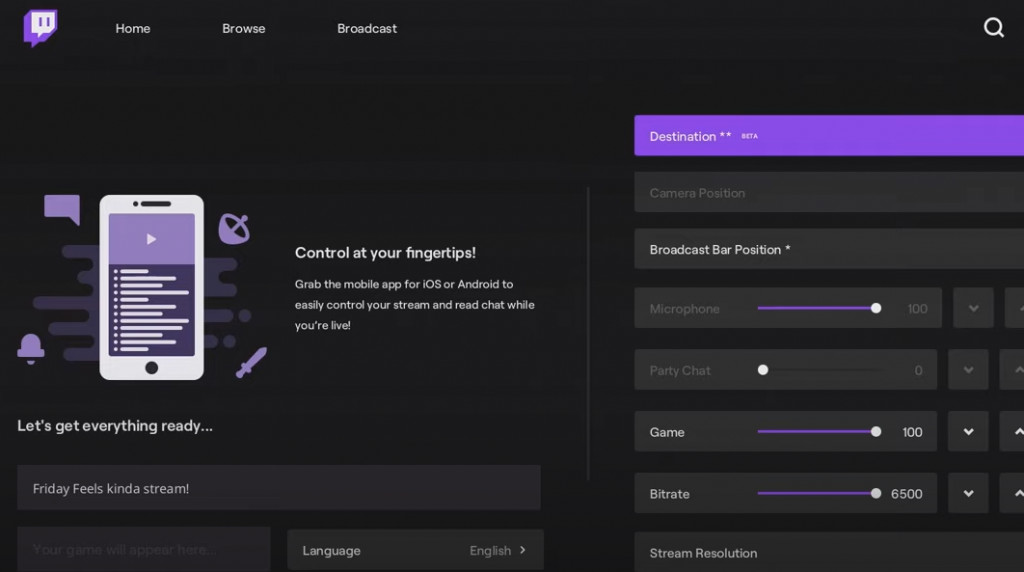
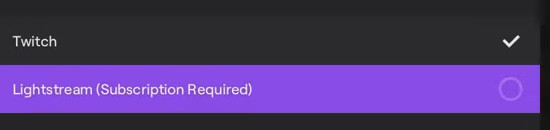
6. Choose Lightstream and adjust stream options on the right side of the screen.
7. Click on the Start Streaming button
8. Go back to Lightstream to check if everything is good
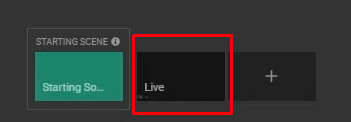
9. If everything is as it should, click the Live button at the bottom of the screen and you are good to go!
How to Do Stream Tests Using a Twitch Stream Key
To test stream on Twitch, follow these steps:
- Log in to your Twitch account.
- Click on the ‘Stream Manager’ icon in the top right corner.
- Select the ‘Stream Key’ tab.
Copy your Twitch stream key. This key is different from your normal Twitch key, and it allows you to test your stream without broadcasting to your followers.

To use a test stream key, go to your Twitch creator dashboard and click on the channel you want to test. Then, click on the “Stream Key” tab and select “Show Key.”
Copy and paste the Twitch stream key into your streaming software, and you’re all set!
Remember, a test stream key is only for testing purposes. When testing, do not use your regular stream key, as this will broadcast your private stream to your followers.
Paste your Twitch key into the ‘Stream Key’ field in Lightstream Studio or another tool. Click the ‘Start Streaming’ button. You should now be live streaming on Twitch!
Remember to test your audio and video settings before you start streaming. First, launch the Twitch app and sign in. Then, click on the Settings icon in the top right corner. In the Settings menu, select the Broadcast Settings tab.
Under Video Settings, make sure the correct camera is selected. If you’re not sure which camera to choose, try experimenting with each one until you find the one that gives you the best results.
Under Audio Settings, you’ll see a list of all the audio devices connected to your computer. Select the device you want.
Best practices for a stream test on Twitch
When it comes to test streaming on Twitch, there are a few best practices to follow to make the most out of the experience of your Twitch stream.
First and foremost, it’s essential to be organized and plan what you’re going to test. Having a clear objective will help keep you focused and on track.
Secondly, engage with your audience and take their feedback into account. This is your chance to get real-time feedback and improve your product before it goes live.
Also, choose a good time to do the Twitch stream. You don’t want to test stream when your fans are likely to be online.
When it comes to audio and video quality, make sure your graphics look great and that your overlays are working correctly:
- See your sound levels and if your microphone is working.
- Be comfortable with your webcam and that your video looks good.
- Have a good upload speed.
- Choose an exciting game to run a Twitch stream test on.
Be sure to interact with your chat and engage with your viewers – let them know that you’re happy to answer any questions they may have.
Finally, don’t forget to have fun! Test streaming can be a great way to connect with your audience and build a community around your product.
How to end your Twitch stream test
Ending your stream test is easy! Just follow these simple steps after you run a stream test:
- Thank your viewers for watching.
- Give a quick rundown of what you accomplished during the stream.
- Say goodbye and thank you again.
Testing Twitch Stream With Twitch Inspector Tool
Twitch’s inspector tool is a simple and effective way to check that your stream is up to Twitch’s standards.
All you need to do is enter your stream’s information into the Twitch Inspector, and it will analyze your stream for you. If there are any technical difficulties, it will give you specific instructions on fixing them.
Here’s how it works:
- Go to Inspector.twitch.tv and log in with your Twitch account.
- Select the Twitch channel you want to run a stream test on in the “Channel” drop-down menu.
- In the “Test Server” drop-down menu, select the Twitch server closest to your location. Click on the “Start Test” button.
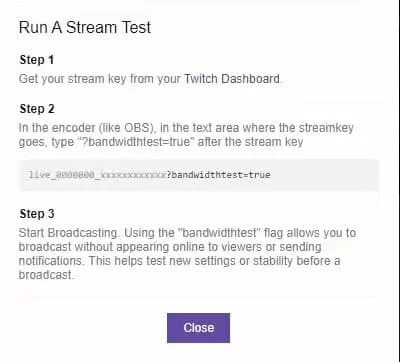
- An additional option is to head out to https://inspector.twitch.tv/ in your web browser. Smash the “Start Testing” option. This tool lets you see information about your stream, including your bitrate and server status.
- Enter your Twitch stream URL in the “Input” field. Click on the “Test Stream” button. Twitch inspector will now test your stream and provide you with a report. Use the report to improve your stream quality before going live to ensure that everything will run properly.
- You can also use our visual guide to help you with Twitch Inspector or OBS when you’re doing a bandwidth test.
FAQ
How do I test stream on Twitch?
To test stream on Twitch, first make sure that you have a strong internet connection. Next, go to your Twitch dashboard and click on the “Stream Key” tab.
From there, click on the “Show Key” button and copy the key that is displayed. Finally, paste the key into your streaming software and start streaming!
Can I test a Twitch stream without going live?
Yes, you can test a Twitch stream without going live. You can do this by using a Twitch test stream. A Twitch test stream is a stream that is not viewable by the audience.
It is only viewable by the people who you invite to view it. This is a great way to test your stream before you go live.
How do I test my Twitch stream audio?
Use a microphone test software like Audacity. It will help you identify any issues with your microphone, like background noise or low volume.
Make sure you have the correct sound settings in your Twitch account. You can find these under “Channel” and then “Audio.” Ask a fellow streamer to listen to your stream and give you feedback on the sound quality.
Conclusion
By following these steps we gave you, you can make test streaming on Twitch a valuable tool to check if everything is working properly before you go live on Twitch!