

IRL streaming has exploded in popularity with the rise of creators wanting to bring streams outside of their homes for events, meetups, street musicianship, conventions, and more.
Lightstream Studio’s Creator Plan makes it easy to bring your IRL stream to the next level.
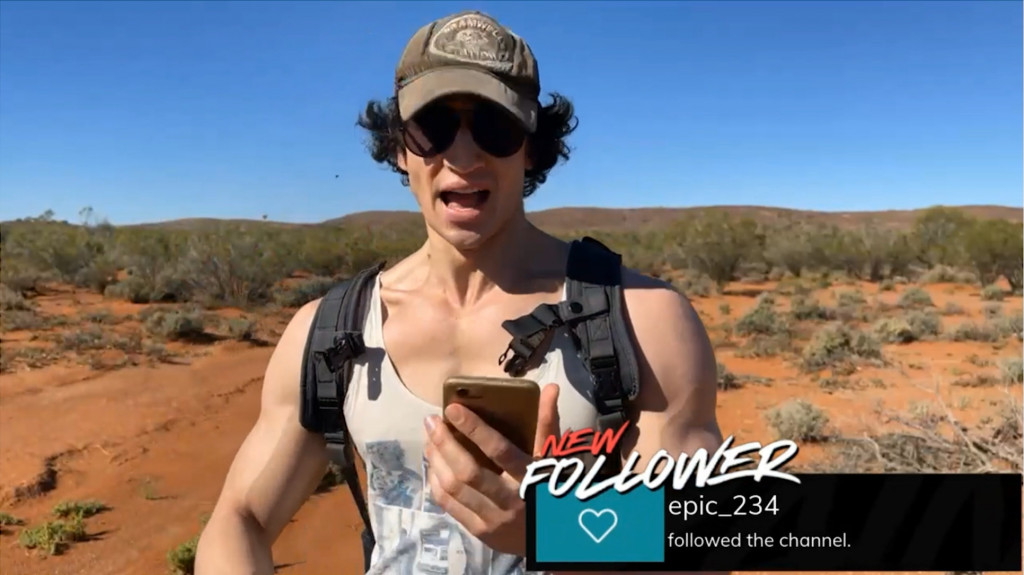
Create professional looking IRL streams with overlays and data driven graphics like chat boxes and follower notifications – all in the cloud without lugging extra gear with you!
Lightstream Studio also features Disconnection Protection so that if you pass by an area without internet signal, your broadcast won’t end and you lose your audience. Instead, the show stays live, waiting for your signal to return
Let’s set up your first Lightstream Studio IRL stream!
If you haven’t already, set up a Lightstream Studio Creator account, log in using your preferred live streaming platform. We’ll use Twitch for this example.
Be sure to stream from a device through RTMP into Lightstream Studio using the Airmix Solo mobile app, but you can use any streaming device that supports streaming via RTMP, which is a very common live video protocol.
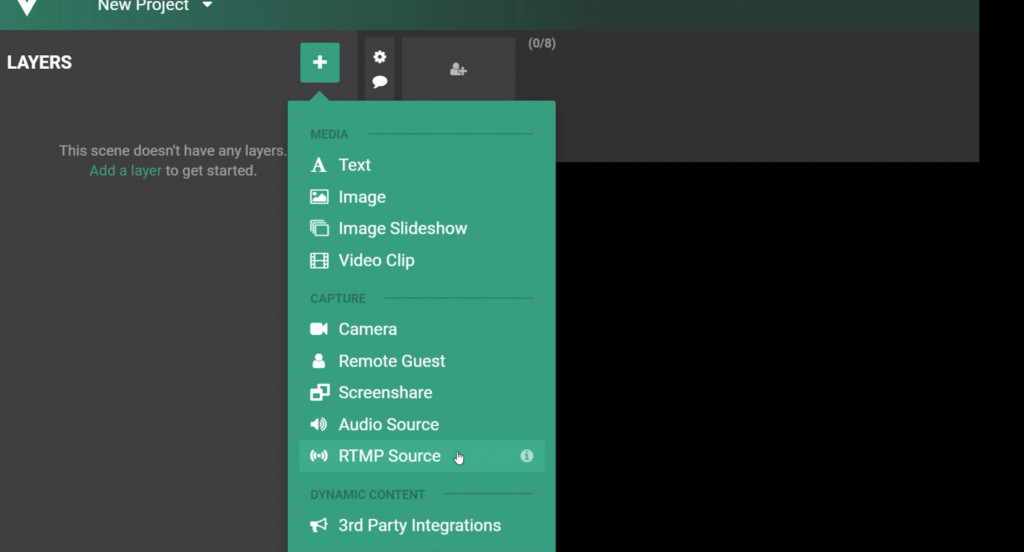
In your Lightstream Studio project, we’ll first set up an RTMP source layer by clicking the green Add Layer button and choosing RTMP Source.
Click Create New RTMP Source to create a source with its own stream key.
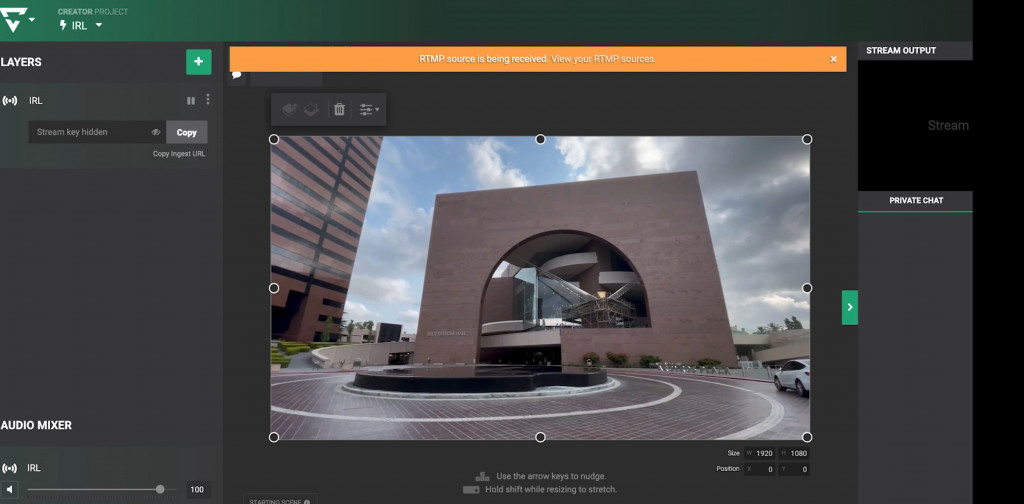
Copy the Ingest URL as well as the Stream Key of the RTMP source you’re using and paste it into the settings of Airmix Solo’s RTMP destination. Start streaming from your device and it will start sending video to Lightstream.
Click on the RTMP source you created to add it to your project canvas and see a preview of the feed from your device.
You can then click Go Live to broadcast your IRL stream to your channel from here.
But wait, let’s customize this!
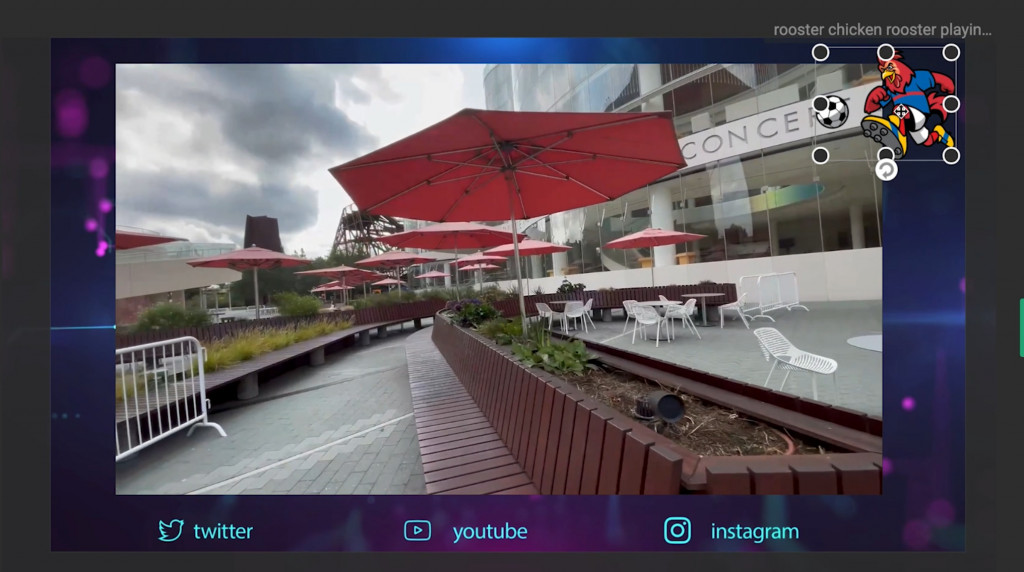
Let’s add text and graphics to your IRL stream to give it polish. Just add an Image layer, upload your graphics, and resize and reposition.
Now let’s go into Rainmaker and create an overlay with a chat box and notification graphics, driven by live data from Twitch.
Your overlays will show up and update as your audience interacts with your IRL stream.
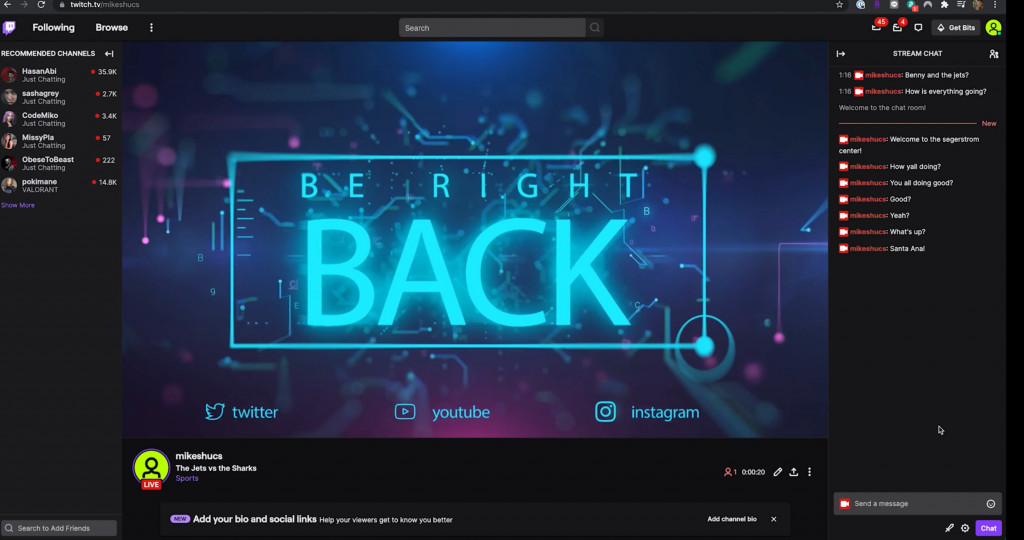
Let’s create a standby message in case our video feed loses internet signal and disconnection protection kicks in.
We’ll load a graphic to place underneath your RTMP layer that tells audience members your IRL stream will be right back.
If your streaming device loses connection, the RTMP layer will disable and then audience members will see the stand by graphic behind.
IRL streams are often on the go, and in Lightstream Studio, you have the option to start your show as soon as you start streaming from your RTMP source with our Auto Live feature. No computer needed on the go!
You can toggle this on from your Lightstream Studio project details in the project drop down menu.
With this toggled, your broadcast starts when it receives RTMP signal, and stops when the RTMP signal ends. But we want the IRL stream broadcast to go on, in case we drop internet signal, so we’ll also enable Disconnection Protection.
Now you just have to start streaming from your device to start your show with all the graphics and overlays you set up in Lightstream Studio.
With disconnection protection enabled, you’ll have to manually end your IRL stream from Lightstream Studio. If you’re on the go, you can easily do this by logging into Lightstream Studio from a mobile browser, where you can start and stop your broadcast manually depending on your settings.
If you’ve set up different scenes in your project with different sets of overlays, you can even switch between the scenes you had set up on your desktop computer from the same mobile interface.
And you’re now ready to go on an adventure and have a professional-looking IRL stream for your audience.
We also have this video up on YouTube, check out our channel.